Kenmore WIOI67097A User Manual Page 16
- Page / 72
- Table of contents
- TROUBLESHOOTING
- BOOKMARKS
- Side by Side Refrigerator 1
- Refrigerador de dos puertas 1
- R_frig_rateur c6te & c6te 1
- TABLEOF CONTENTS 2
- KENMORE APPLIANCE WARRANTY 2
- REFRIGERATOR SAFETY 3
- INSTALLATION INSTRUCTIONS 4
- .... Re< 5
- Do Not Remove Screw A 6
- A. Leveling Screw 6
- Replace the Doors and Hinges 7
- Align the Doors 8
- Connect to Water Line 8
- REFRIGERATOR USE 10
- -;?.-oo-'b:-..°.f 11
- Filter Status 12
- Changing the Water Filter 12
- REFRIGERATOR FEATURES 14
- DOOR FEATURES 15
- FREEZER FEATURES 15
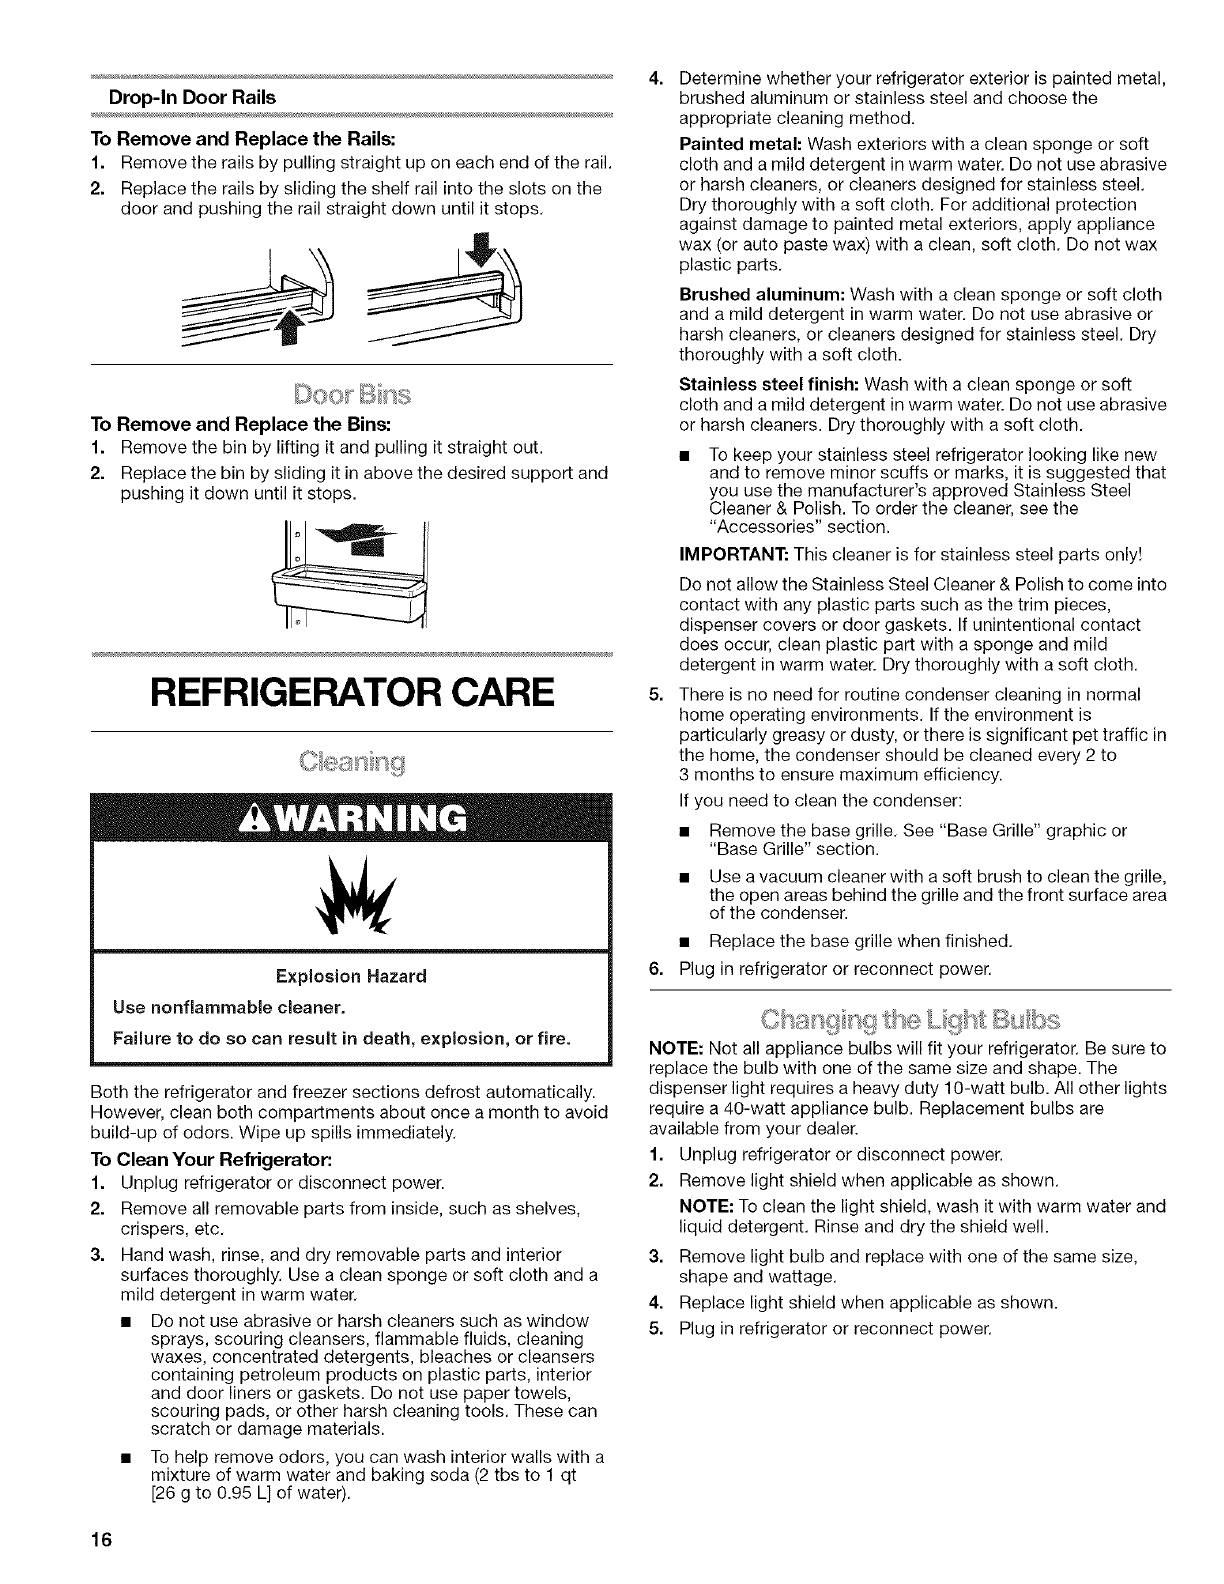
- REFRIGERATOR CARE 16
- A. Dispenser light 17
- TROUBLESHOOTING 18
- Kelmmre T1KB1 T1RFKB1 21
- PERFORMANCE DATA SHEET 22
- Numero de modelo 24
- Numero de serie 24
- Fecha de compra 24
- SEGURIDAD DEL REFRIGERADOR 25
- INSTRUCCIONES DE INSTALACION 26
- _}:(eq_ s tose @?y_c ss 27
- No quite el tornillo A 28
- A. Tornillo nivelador 28
- Quitelasmanijas(opcional) 29
- Conexibn a la linea de agua 30
- A. Bulbo 31
- USO DE SU REFRIGERADOR 32
- Desactivacibn de sonidos 33
- % +_ Crushed 34
- CARACTERiSTICAS DEL 37
- CONGELADOR 38
- CARACTERiSTICAS DE 39
- CUlDADO DE SU 39
- REFRIGERADOR 39
- Luz del cajbn para verduras 40
- SOLUCION DE PROBLEMAS 42
- PROTECCION 45
- HOJA DE DATOS DEL RENDIMIENTO 46
- TABLE DES MATII RES 48
- S¢:CURIT¢:DU RC:FRIGC:RATEUR 49
- Nettoyage avant rutilisation 50
- @ ede sase 51
- Enlever les portes 53
- Fermeturedesportes 54
- UTILISATION 56
- DU RI FRIGI RATEUR 56
- % +e Crushed 58
- Remplacement du filtre _ eau 59
- REFRIGERATEUR 61
- CARACTI RISTIQUES DU 62
- CONGELATEUR 62
- CARACTI:!:RISTIQUESDE 63
- LA PORTE 63
- ENTRETIEN DU 63
- RI FRIGI RATEUR 63
- Lampe du bac & I_gumes 64
- (sur certains modules) 65
- DI PANNAGE 66
- _,s_ gO ,:_et esu 67
- CONTRATS DE PROTECTION 69
- , 888,8464 ,,Sears 72
Related products and manuals for Fridges Kenmore WIOI67097A
 (39 pages)

 (80 pages)
(29 pages)
(2 pages)
(12 pages)
(33 pages)
(39 pages)
(31 pages)
(80 pages)
(36 pages)
(38 pages)
(52 pages)
(28 pages)
(80 pages)
(60 pages)
(100 pages)
(43 pages)
(64 pages)
(80 pages)
(29 pages)
(2 pages)
(12 pages)
(33 pages)
(39 pages)
(31 pages)
(80 pages)
(36 pages)
(38 pages)
(52 pages)
(28 pages)
(80 pages)
(60 pages)
(100 pages)
(43 pages)
(64 pages)
© 2020, manymanuals.com. All rights reserved. | 0.185 s |
 Manymanuals.com
 Manymanuals.de
 Manymanuals.fr
 Manymanuals.it
 Manymanuals.pl
 Manymanuals.cz
 Manymanuals.es
 Manymanuals-pt.com
Comments to this Manuals