Kenmore 625.347001 User Manual
Browse online or download User Manual for Water dispensers Kenmore 625.347001. Kenmore 625.347001 User's Manual
- Page / 20
- Table of contents
- TROUBLESHOOTING
- BOOKMARKS
- Reverse Osmosis 1
- Drinking Water System 1
- -- WARRANTY 2
- -- SAFETY GUIDES 2
- -- TABLE OF CONTENTS 3
- -- 6 STEPS TO INSTALL 4
- A. WATER SUPPLY CONNECTION 5
- B. WATER SUPPLY 5
- -- STEP 3: INSTALL FAUCET 6
- -- STEP 4: INSTALL RO 7
- ASSEMBLY 7
- SANITIZING 9
- PRESSURE TESTING 9
- PURGING RO MEMBRANE 9
- REVERSE OSMOSIS 10
- SCHEMATIC 10
- 11/16” (1/4” tubing) 13
- 3/4” (3/8” tubing) 13
- MODEL NO. 625.347001 14
- OTHER TROUBLESHOOTING 14
- -- REPAIR PARTS 16
- Note: Tubing colors as 18
Summary of Contents
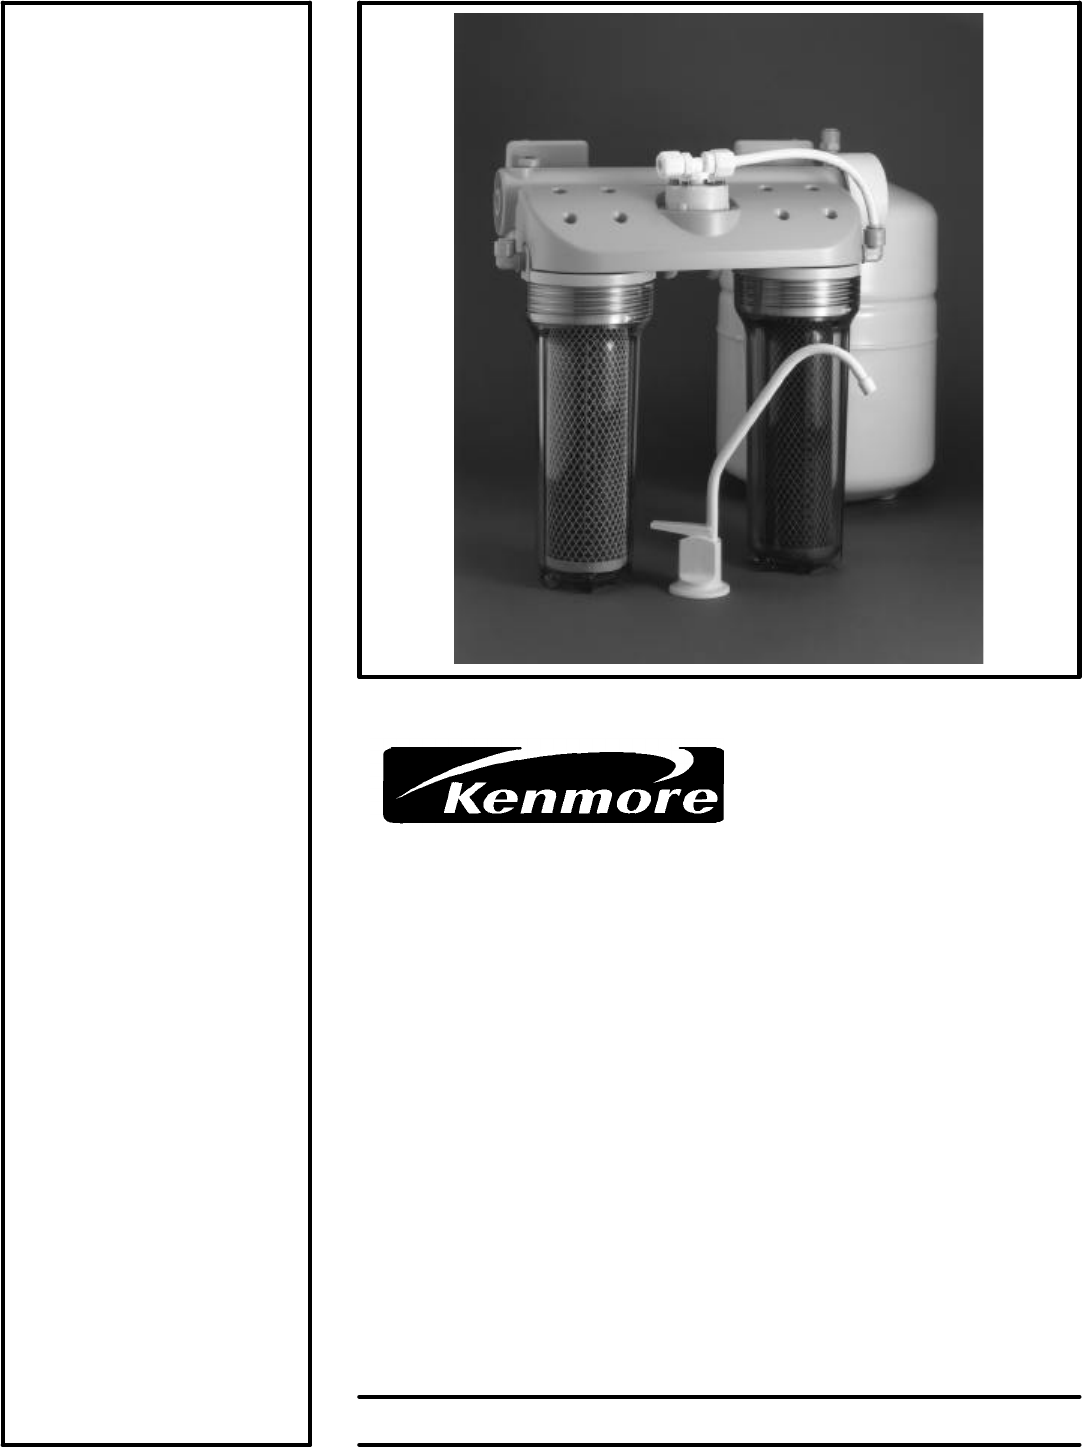
1Sears, Roebuck and Co., Hoffman Estates, IL 60179 U. S. A.SAVE THIS MANUALReverse OsmosisDrinking Water Systemu Warrantyu How To Installu How It Work
10-- HOW YOUR REVERSE OSMOSIS SYSTEM WORKS --PREFILTERWater from the cold supply pipe enters the RO as-sembly prefilter first (FIG. 8 and schematic be
11-- CARE OF YOUR REVERSE OSMOSIS SYSTEM --To keep your reverse osmosis system operatingandmakinghighqualitywater,youmustmakesuresup-ply water is alwa
12-- CARE OF YOUR REVERSE OSMOSIS SYSTEM --2. Press inward while turning the RO cap to the left(?)toremovefromthebracket/membranehousing.3. Use a plie
13-- CARE OF YOUR REVERSE OSMOSIS SYSTEM --TUBING CONNECTION (continued)If tubing is used, other than supplied with the sys-tem,besureitisofhighqualit
14-- CARE OF YOUR REVERSE OSMOSIS SYSTEM --REVERSE OSMOSIS SYSTEM CARE GUIDEMODEL NO. 625.3470011. AT LEAST every 6 months, replace the prefilter and
15-- DIMENSIONS and SPECIFICATIONS --16”16”9” dia.15”STORAGETANKMetricSupply water pressure limits . . . . . . . . . . . . . . . . . . . . . . . . 40
-DRAINADAPTER12345678791011121314151617181920212189222324252627282930313233o-ring seals11SADDLE VALVESee note on codes in the stateof Massachusetts, p
17-- REPAIR PARTS --Kenmore Reverse Osmosis Drinking Water System, Model No. 625.347001KeyNo.PartNumber Description of Part1 7205350 Faucet2 7207920 A
18-- REMOTE LOCATION FOR REVERSE OSMOSIS SYSTEM --RO productwater faucetCOLDWATERSUPPLY1/4” green tubing3/8” blue tubingSTANDPIPEairgapairgapSUMPairga
19
2-- WARRANTY --Sears, Roebuck and Co., D/817 WA, Hoffman Estates, IL 60179For one year from the date of purchase, when theReverse Osmosis Drinking Wat
part no. 7208112 (4/99)Sears, Roebuck and Co., Hoffman Estates, IL 60179 U.S.A.OWNER’SMANUALMODEL NO.625.347001The model number ofyour reverse osmosis
3-- TABLE OF CONTENTS --Where To Install the RO System . . . . . . . . 4Tools and Materials Needed . . . . . . . . . . . 4Installation Steps . . . . .
4-- WHERE TO INSTALL THE RO SYSTEM --The RO assembly and storage tank is designed forinstallation under the sink, usually in the kitchen orbathroom. T
5-- STEP 1: INSTALL COLD WATER SUPPLY SADDLE VALVE --Checkandcomplywith local plumbing codes as youplan,theninstallacoldfeed(supply)waterfitting. Thef
6-- STEP 2: INSTALL DRAIN ADAPTER --J Note: Running the draintubing directly to afloordrain, sump, standpipe, laundry tub, etc., as shownon page 18, i
7-- STEP 3: INSTALL FAUCET (cont.)--B. ASSEMBLE FAUCET1.Ifnotalreadyassembled,installtherubberwasher,spacer, flat (or lock) washer and hex nut onto th
8-- STEP 5: INSTALL STORAGE TANK,MAKE REMAINING TUBING CONNECTIONS --1. CONNECT DRAIN TUBING, FAUCET TODRAINADAPTER:ReferringtoFIG.8,runtheloosesectio
9-- STEP 6: SANITIZING, PRESSURE TESTING & PURGING --SANITIZINGSanitizing is recommended upon installation of theRO system, and after servicing in
Related products and manuals for Water dispensers Kenmore 625.347001
 (16 pages)
© 2020, manymanuals.com. All rights reserved. | 5.761 s |
 Manymanuals.com
 Manymanuals.de
 Manymanuals.fr
 Manymanuals.it
 Manymanuals.pl
 Manymanuals.cz
 Manymanuals.es
 Manymanuals-pt.com
Comments to this Manuals