Kenmore 21 cu. ft. Side-by-Side Refrigerator - Black Owner's Manual Page 10
- Page / 84
- Table of contents
- BOOKMARKS
- Kenmore® 1
- TABLE OF CONTENTS 2
- PROTECTION AGREEMENTS 2
- KENMORE APPLIANCE WARRANTY 3
- REFRIGERATOR SAFETY 4
- INSTALLATION INSTRUCTIONS 5
- Electrical Shock Hazard 6
- Remove the Doors 7
- Replace the Doors and Hinges 7
- A. Shoulder screws 8
- 2" (1.27 cm) 9
- 2" (5.08 cm) 9
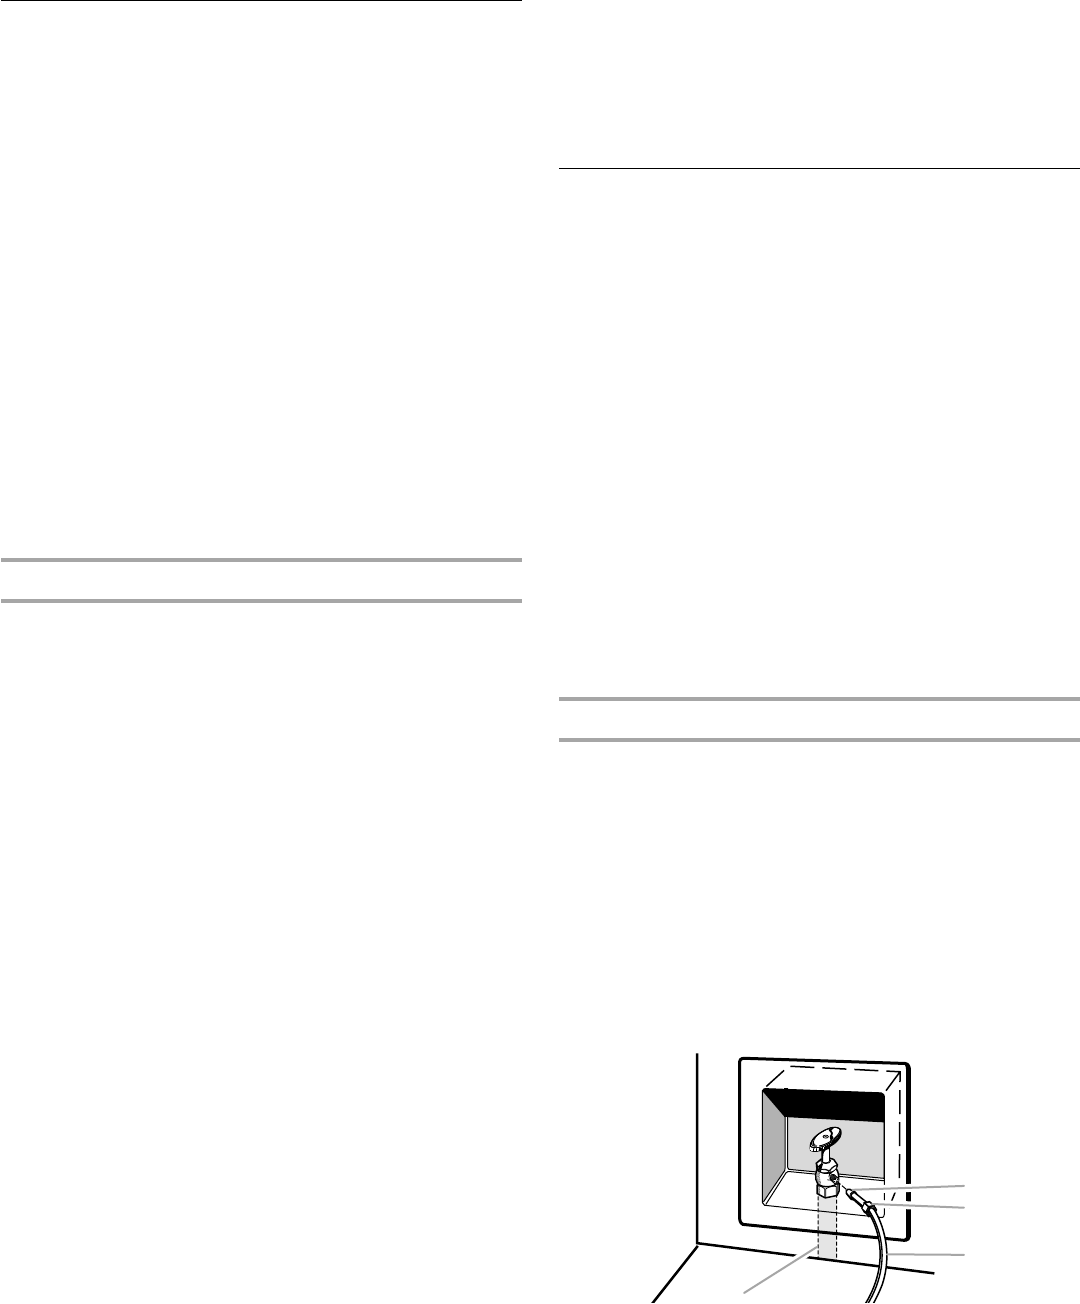
- Water Supply Requirements 10
- Connect Water Supply 10
- Style 2 11
- Connect to Refrigerator 11
- Style 1 11
- Prepare the Water System 12
- REFRIGERATOR USE 13
- To Dispense Water: 14
- The Ice Dispenser 14
- To Dispense Ice: 14
- The Water Dispenser 14
- Water Filtration System 15
- REFRIGERATOR FEATURES 16
- (on some models) 17
- REFRIGERATOR CARE 19
- Power Interruptions 20
- Vacation and Moving Care 20
- PROBLEM SOLVER 21
- Explosion Hazard 23
- Use nonflammable cleaner 23
- Cut Hazard 24
- ACCESSORIES 26
- WATER FILTER 26
- CERTIFICATIONS 26
- PERFORMANCE DATA SHEET 27
- CONTRATOS DE PROTECCIÓN 28
- REGISTRO DEL PRODUCTO 29
- SEGURIDAD DEL REFRIGERADOR 30
- INSTRUCCIONES DE INSTALACIÓN 31
- ADVERTENCIA 32
- 2" (1,27 cm) 35
- 2" (5,08 cm) 35
- ¹⁄₄" 36
- ¹⁄₂" (1,27 cm) a 37
- USO DE SU REFRIGERADOR 39
- Uso de los controles 40
- Despachadores de agua y hielo 40
- Sistema de filtración de agua 42
- CARACTERÍSTICAS 43
- DEL REFRIGERADOR 43
- (en algunos modelos) 44
- Peligro de Explosión 46
- Luces del cajón para verduras 47
- Cortes de corriente 48
- SOLUCIÓN DE PROBLEMAS 49
- FUNCIONAMIENTO 50
- EN GENERAL 50
- ACCESORIOS 54
- HOJA DE DATOS DEL RENDIMIENTO 55
- TABLE DES MATIÈRES 56
- CONTRATS DE PROTECTION 56
- Service d’installation Sears 57
- ENREGISTREMENT DU PRODUIT 57
- SÉCURITÉ DU RÉFRIGÉRATEUR 58
- INSTRUCTIONS D’INSTALLATION 59
- AVERTISSEMENT 60
- Style 1 (Recommandé) 65
- Style 3 66
- UTILISATION 67
- DU RÉFRIGÉRATEUR 67
- Utilisation des commandes 68
- A. Goulotte à glaçons 70
- CARACTÉRISTIQUES 71
- (sur certains modèles) 72
- Lampes du bac à légumes 75
- Pannes de courant 76
- RÉSOLUTION DE PROBLÈMES 77
- ° D22 M40083 R 82
- Système de filtration d’eau 83
Related products and manuals for Fridges Kenmore 21 cu. ft. Side-by-Side Refrigerator - Black


 (110 pages)
(64 pages)
(52 pages)
(80 pages)
(72 pages)
(39 pages)
(80 pages)
(29 pages)
(2 pages)
(12 pages)
(33 pages)
(39 pages)
(31 pages)
(80 pages)
(36 pages)
(110 pages)
(64 pages)
(52 pages)
(80 pages)
(72 pages)
(39 pages)
(80 pages)
(29 pages)
(2 pages)
(12 pages)
(33 pages)
(39 pages)
(31 pages)
(80 pages)
(36 pages)
© 2020, manymanuals.com. All rights reserved. | 1.224 s |
 Manymanuals.com
 Manymanuals.de
 Manymanuals.fr
 Manymanuals.it
 Manymanuals.pl
 Manymanuals.cz
 Manymanuals.es
 Manymanuals-pt.com
Comments to this Manuals