Kenmore 17568563 User Manual
Browse online or download User Manual for Kitchen Kenmore 17568563. Kenmore 17568563 User Manual
- Page / 10
- Table of contents
- BOOKMARKS
Summary of Contents
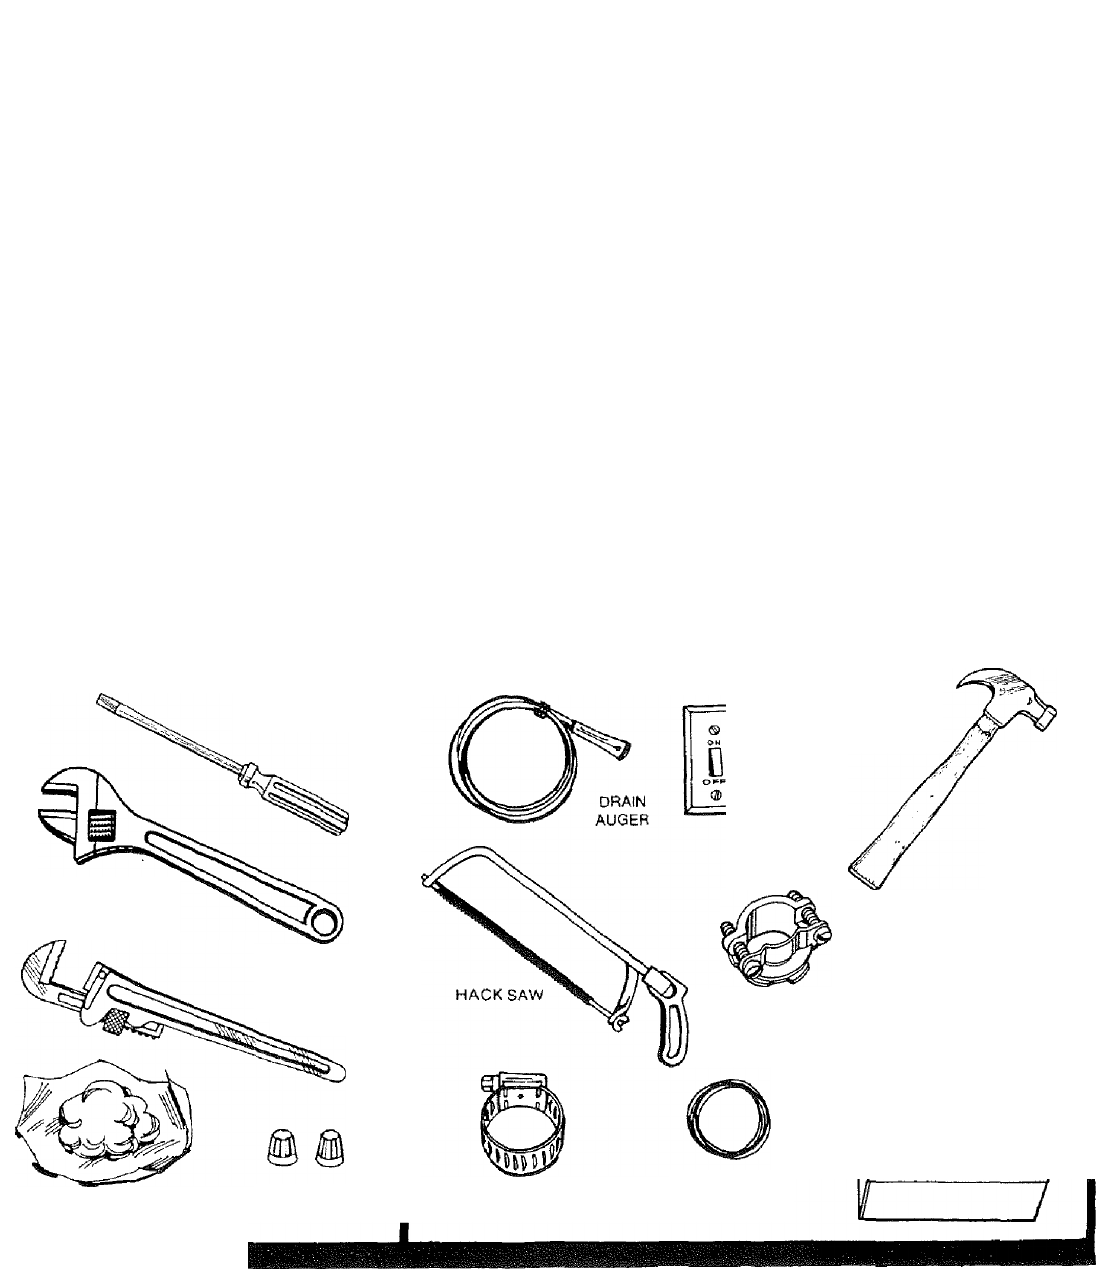
FOOD WASTE DISPOSERSGUIDE FOR EASY, TROUBLE-FREE INSTALLATION, CARE AND USE.HOW THIS GUIDE WILL HELP YOU.This guide describes everything you need to k
INSTRUCTIONS PERTAINING TO A RISK OF FIRE, ELECTRICAL SHOCK, OR INJURY TO PERSONS.IMPORTANT SAFETY INSTRUCTIONS WARNING: When using electric appliance
INSTALLATION DIMENSIONSDRAWING REPRESENTATIVE OF A FOOD WASTE DISPOSERIMPORTANT: PLUMB WASTE LINE TO PREVENT STANDING WATER IN DISPOSER MOTOR HOUSING
REMOVING YOUR OLD DISPOSER.FIRST, TURN OFF ELECTRICAL POWER at the service panel (fuse box or circuit breaker box). If the mounting is the same as you
HERE IS WHAT TO DO IF YOU ARE INSTALLING YOUR SINK’S FIRST DISPOSER.Now, remove the large nut at the base of the sink strainer by placing the tip of y
LET’S KEEP GOING.. .IT’S GETTING EASIER, WE HOPE.NOW WE’RE GETTING INTO THE ACTUAL INSTALLATION. SEPARATE THE PARTS IN THE MOUNTING ASSEMBLY.First, r
WE’RE READY TO MAKE THE ELECTRICAL CONNECTIONS.NOTE: [f using armored cable, we recommend installing an anti-short or insulation bushing in the end of
NEXT, MAKE SURE THE DISPOSER IS GROUNDED.If the cable leading to the disposer has three wires, attach the green ground wire to the green ground
NOW, ATTACH THE DISPOSER DISCHARGETUBE TO YOUR SINK’S DRAIN TRAP.First, check inside the disposer grinding chamber to remove any objects or
NOW, LOCK THE DISPOSER IN PLACEPlace the end of your “wren- chefle" or a screwdriver inlo the left side of one of the mounting ri
Related products and manuals for Kitchen Kenmore 17568563
 (8 pages)
© 2020, manymanuals.com. All rights reserved. | 0.508 s |
 Manymanuals.com
 Manymanuals.de
 Manymanuals.fr
 Manymanuals.it
 Manymanuals.pl
 Manymanuals.cz
 Manymanuals.es
 Manymanuals-pt.com
Comments to this Manuals