Kenmore 70089 User Manual
Browse online or download User Manual for Conditioners Kenmore 70089. Kenmore 70089 User Manual
- Page / 28
- Table of contents
- TROUBLESHOOTING
- BOOKMARKS
Rated. / 5. Based on customer reviews
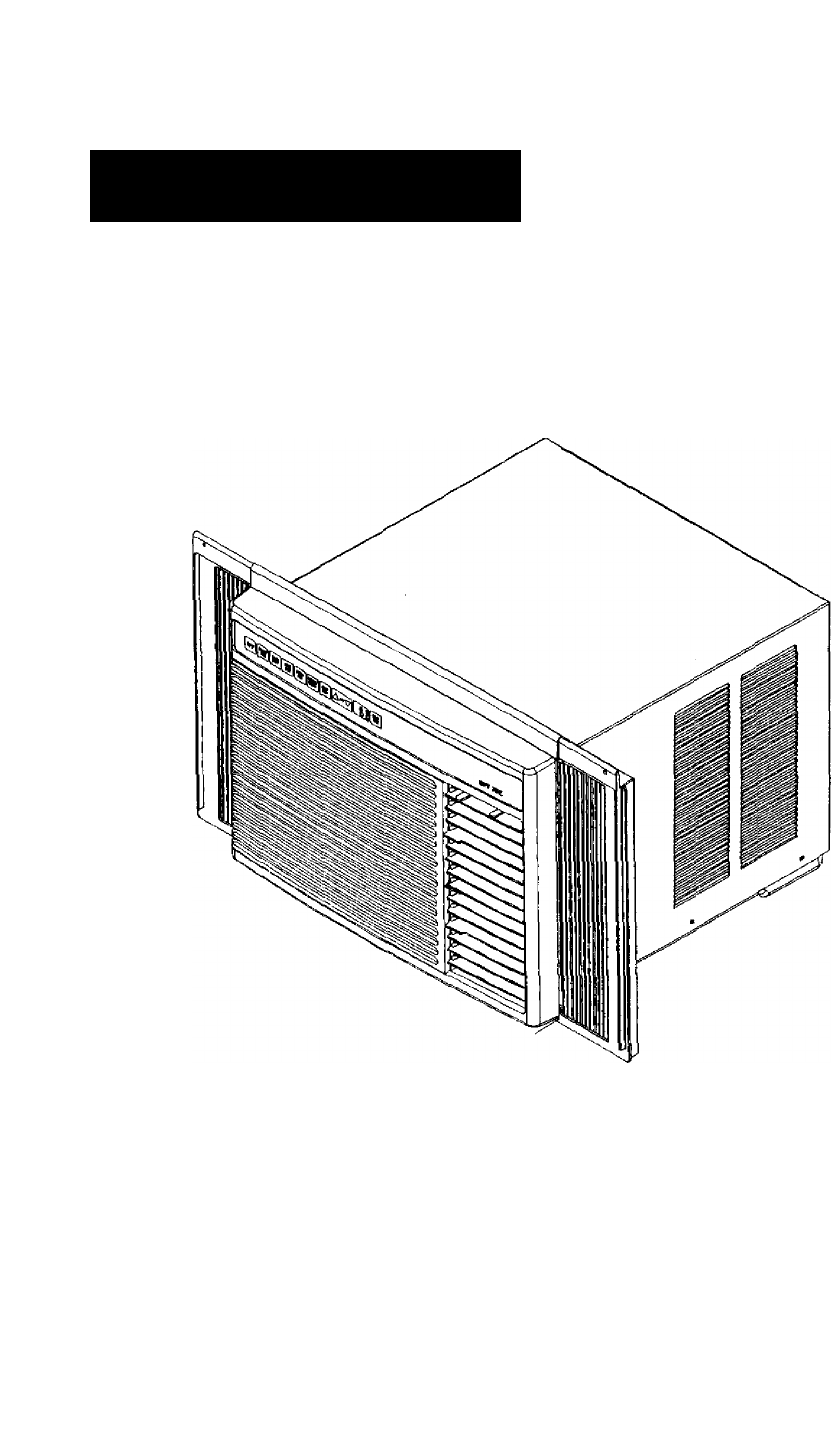
Owner’s Manual
KGiimorG
Room Air Conditioner
Model Numbers 78079,70089,70129,78189
A CAUTION
Read and follow all safety rules and
operating instructions before using
this product.
Safety
Installation
Operation
Maintenance
Troubleshooting
Sears, Roebuck and Co., Hoffman Estates, IL 60179 U.S.A.
- KGiimorG 1
- Contents 2
- Warranty 2
- Model Identification 4
- Sizing Instructions 5
- A CAUTION 10
- Installation 11
- Installatoti 14
- Controls 20
- EXHAUST 21
- \/ 22
- Operating Instructions 23
- Care and Maintenance 23
- A WARNING 23
- Л WARNING 24
- Troubleshooting 26
- %" to %" to 27
- PartsDirect" 28
- HomeCentrar 28
Summary of Contents
Page 1 - KGiimorG
Owner’s ManualKGiimorGRoom Air ConditionerModel Numbers 78079,70089,70129,78189A CAUTIONRead and follow all safety rules and operating instructions be
Page 2 - Warranty
Installation4. See Figure 9. Place bubble level between indoor silt and outdoor end of support bracket. Turn adjusting foot on support until level ti
Page 3
Installation9. See Figure 13. Slide front grille to left; pull out to remove. Slide air filter to left; pull out to remove. Remove 4 screws securing
Page 4 - Model Identification
InstallationWindow Installation—12000, and 18000 Btu UnitsModels 70129,78189)___________________A CAUTIONTo avoid risk of personal injury, propert
Page 5 - Sizing Instructions
InstallationInstallation RequirementsSee Figure 17. Inspect window track, sash, and sill. Ensure window will bear weight of air conditioner for extend
Page 6
InstallatotiMobile Home Window ModificationSee Figure 19. Mobile home window modification requires adding wood strip at least 1wide along entire width
Page 7
InstallationFigure 22. Installing Outer Case in Window1. Indoor sash2. Top rail3. Window sill gasket4. Bottom rail4. See Figure 23. Secure case to
Page 8
InstallationA CAUTIONTo avoid damage to outside wall of house, especially if wall is weak or outside supports sit between studs in wall, place wood bl
Page 9
InstallationFigure 29. Installing Seal Strip1. Seal strip2. Outdoor sash3. Indoorsash12. See Figure 30. Under normal conditions, unit can evaporat
Page 10 - A CAUTION
InstallationGeneral InstructionsSee Figure 32. Dimensions of finished opening (required) in wali are:• 24%” wide by 16%" high (12000 Btu model).
Page 11 - Installation
InstallationFigure 34. Securing Outer Case in Wall Opening1. Lintel and flashing (if required)2. Provide W slope to outside for condensate drainage3
Page 12
ContentsWarranty... 2Safety Instructions...
Page 13
ControlsFigure 37. Touch Control Panel•• m. -m(off)SMARfSETLOWCOOLMEDCOOLHIGHCOOLpower),'^llÍDELAY)(sTARTj DBBBIBB.MODESETEXHAUST CLOSEDSee Figu
Page 14 - Installatoti
Operating InstructionsBefore Turning Air Conditioner OnTo operate air conditioner efficiently and ensure itprovides maximum comfort;• Tightly close a
Page 15
Operating InstructionsDelay Start Operation To program delay start:1. Turn unitoff (press OFF pad).2. Press DELAY START pad. Display flashes current
Page 16
Operating InstructionsNormal Operating SoundsCertain sounds may be made when air conditioner runs, especially in a cooling mode. Sounds may include:•
Page 17
Care and MaintenanceMaintenance ProceduresЛ WARNINGTo avoid death or personal injury due to electrical shock, turn off fan control and unplug power co
Page 18
Care and MaintenanceEvaporator Coil, Condenser Coil, and Base Pan Maintenance NOTE: See Figures 1 and 2 on page 4 for location of air conditioner comp
Page 19
TroubleshootingThe following table describes some common problems that may be encountered with a room air conditioner. Each problem is accompanied by
Page 20 - Controls
TroubleshootingProblemPossible Cause SolutionUnit does not adequately cool room or area.• Desired temperature set too high.• Excessive heat or moistur
Page 21 - EXHAUST
For in-home major brand repair service:Call 24 hours a day, 7 days a week1-800-4-MY-HOME“ (1 -800-469-4663)Para pedir servicio de reparación - 1-800-6
Page 22 - \/
Safety InstructionsRecognize Safety Symbols, Words, and LabelsThe following symbols and labels are used throughout this manual to indicate immediate o
Page 23 - A WARNING
Model IdentificationEvery Kenmore Room Air Conditioner has an identification plate showing model number, part number, serial number, and power require
Page 24 - Л WARNING
Sizing InstructionsMany complaints about room air conditioners result from units that are over-sized or under-sized for a given area. Over-sized units
Page 25
Installationinstalling Room Air ConditionersProper installation of a room air conditioner helps ensure trouble-free operation. Improper installation c
Page 26 - Troubleshooting
InstallationReceptacle WiringReceptacle wiring must be of adequate size for unit. Refer to unit identification plate for exact power requirements. Pow
Page 27 - %" to %" to
InstallationInstallation RequirementsSee Figure 4. Inspect window track, sash, and sill. Ensure window will bear weight of air conditioner for extende
Page 28 - HomeCentrar
Installation2. See Figure 8. Thread adjusting foot (Item B) through bottom of support bracket (Item C). Measure width of window and mark center point
Related products and manuals for Conditioners Kenmore 70089
Conditioners Kenmore 580.75116 User Manual

 (40 pages)
(40 pages)
Conditioners Kenmore 580.72184 User Manual
(23 pages)
(23 pages)
Conditioners Kenmore 580.75050 User Manual
(28 pages)
(28 pages)
Conditioners Kenmore 580. 72089 User Manual
(40 pages)
(40 pages)
Conditioners Kenmore 580.75080 User Manual
(32 pages)
(32 pages)
Conditioners Kenmore 309000845 User Manual
(14 pages)
(14 pages)
Conditioners Kenmore 580.76100 User Manual
(32 pages)
(32 pages)
Conditioners Kenmore 580. 75063 User Manual
(32 pages)
(32 pages)
© 2020, manymanuals.com. All rights reserved. | 1.019 s |
 Manymanuals.com
 Manymanuals.de
 Manymanuals.fr
 Manymanuals.it
 Manymanuals.pl
 Manymanuals.cz
 Manymanuals.es
 Manymanuals-pt.com
Comments to this Manuals